Category: Uncategorized

  • Why Your Turntable’s Dust Cover Matters More Than Any Review Will Tell You


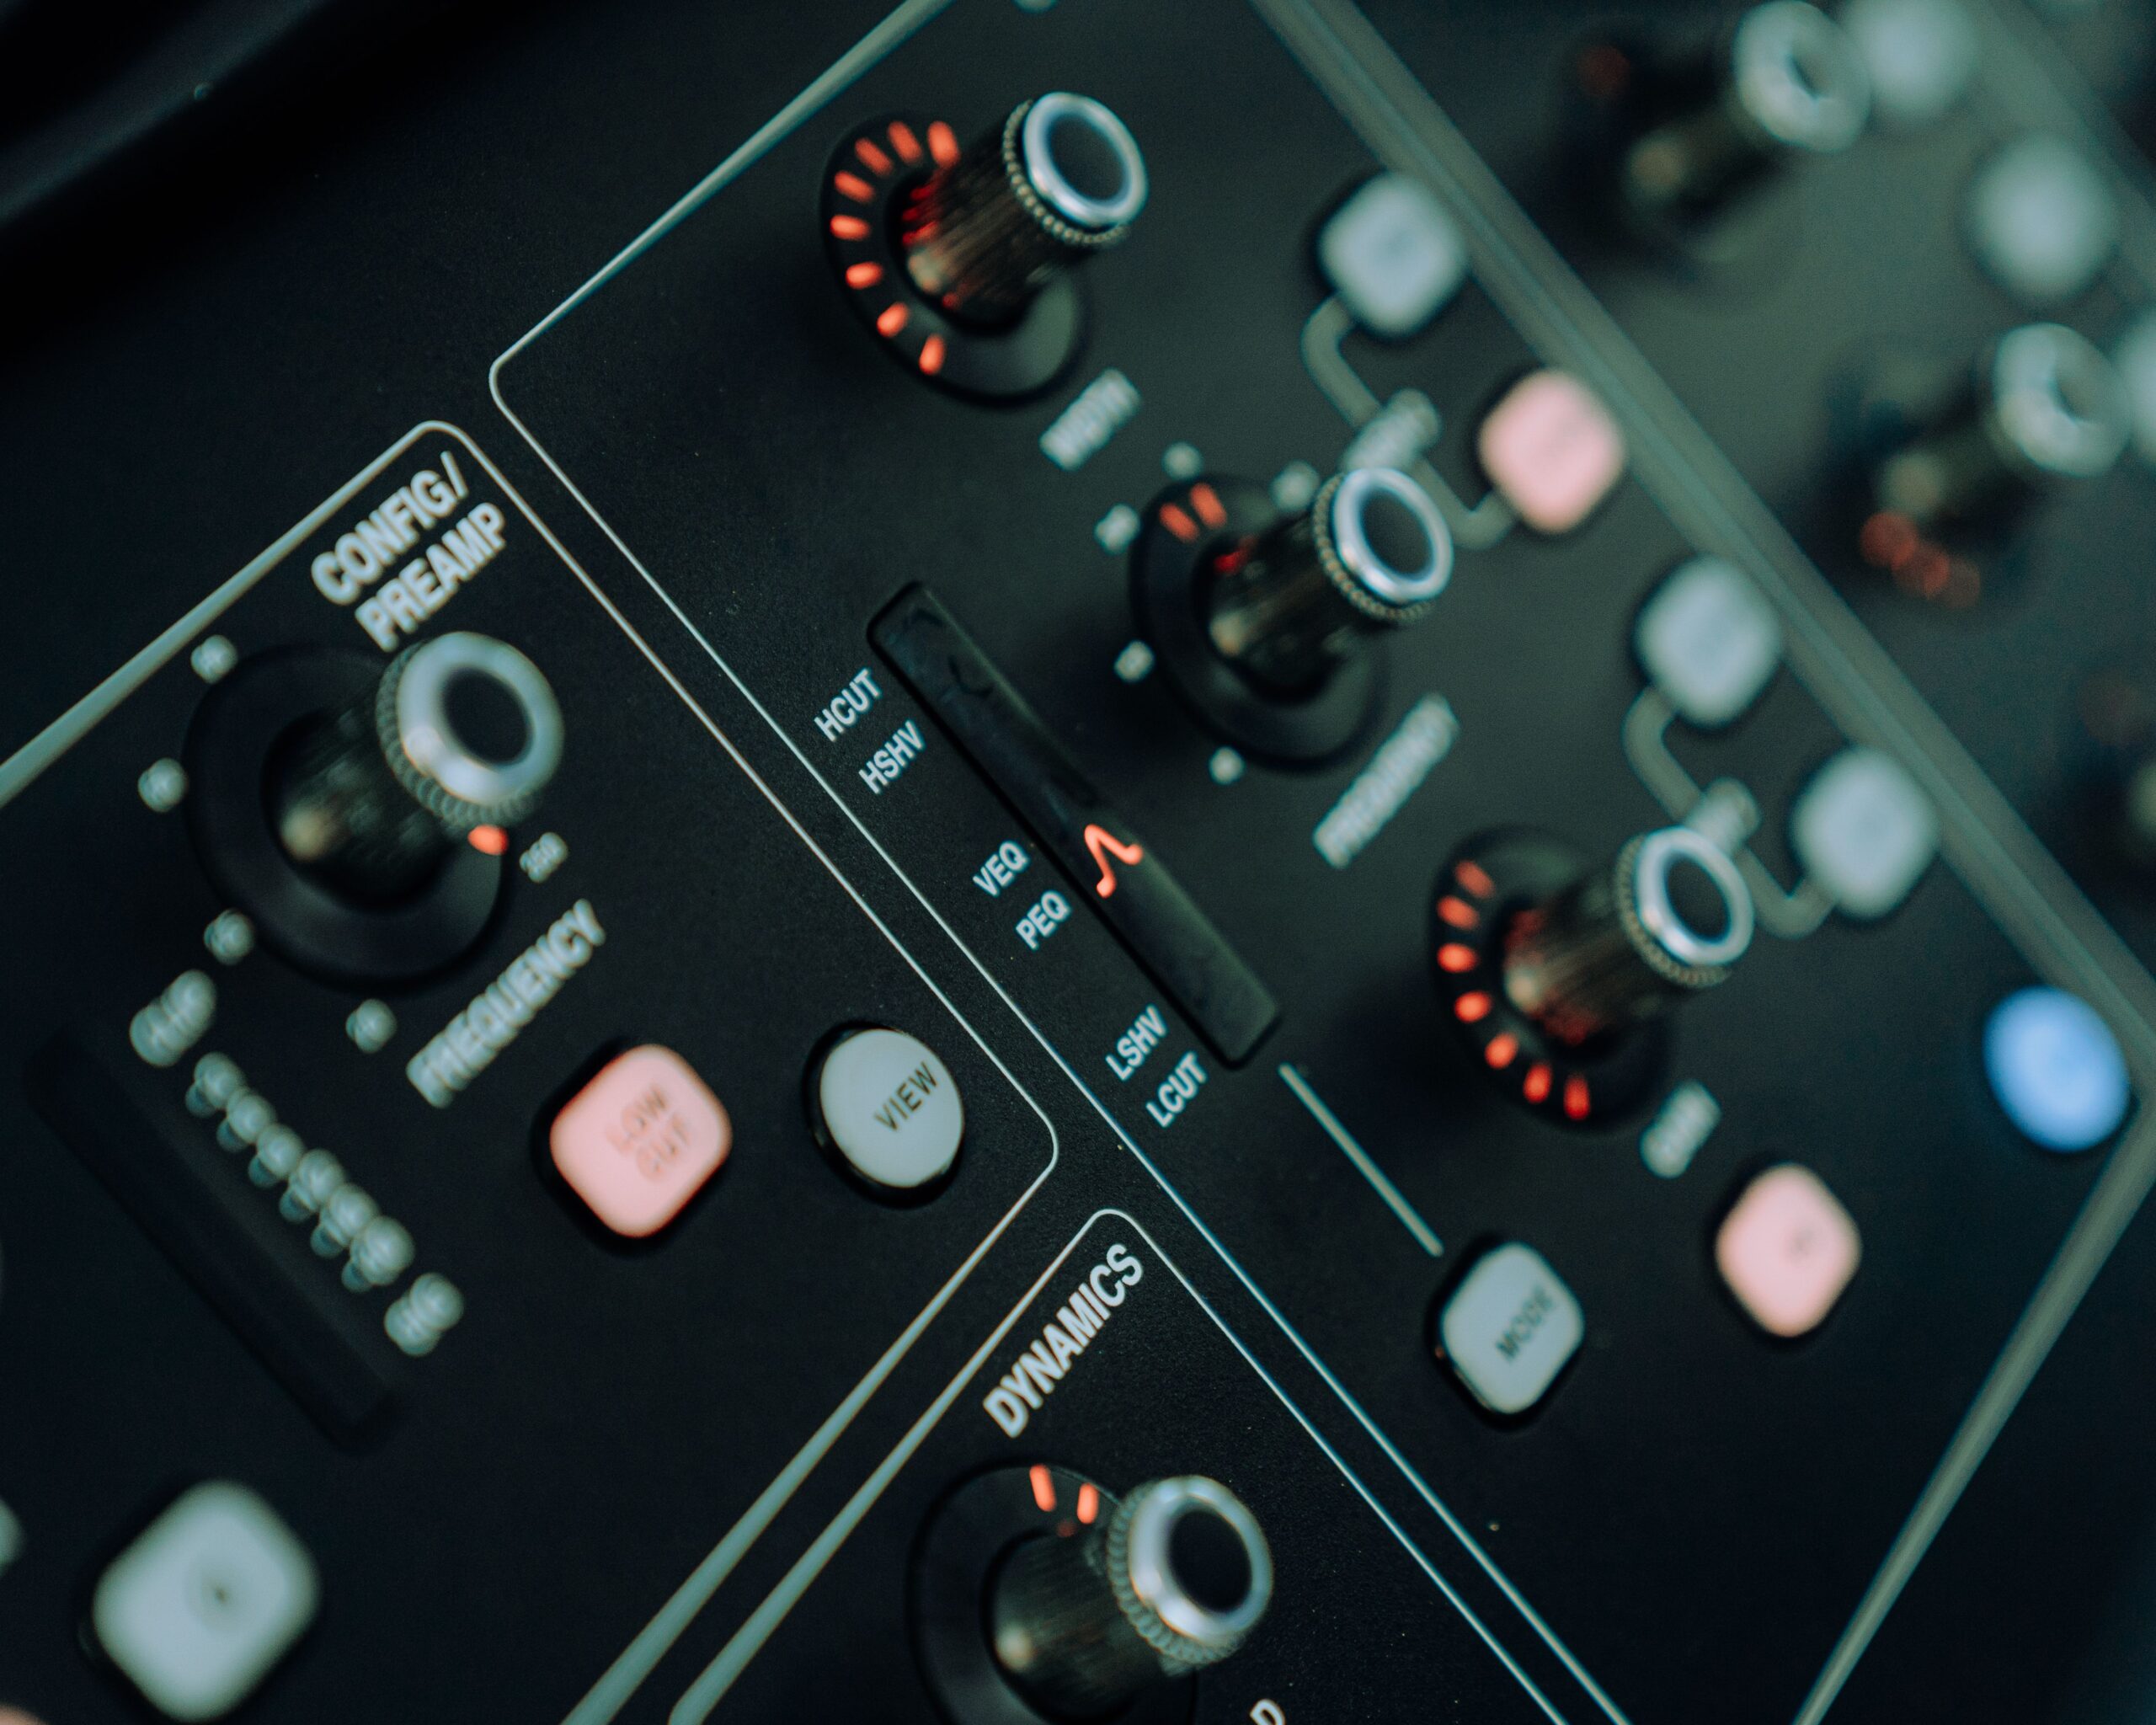
    Every turntable review covers the platter.

    The tonearm geometry. The motor isolation. The cartridge. The feet. Some reviews go deep on the plinth material, the bearing tolerance, the quality of the anti-skate mechanism. Almost none of them spend more than a sentence on the dust cover, and that sentence is usually something like “a dust cover is included.”

    This is a mistake.


    The Most-Touched Part of Any Turntable

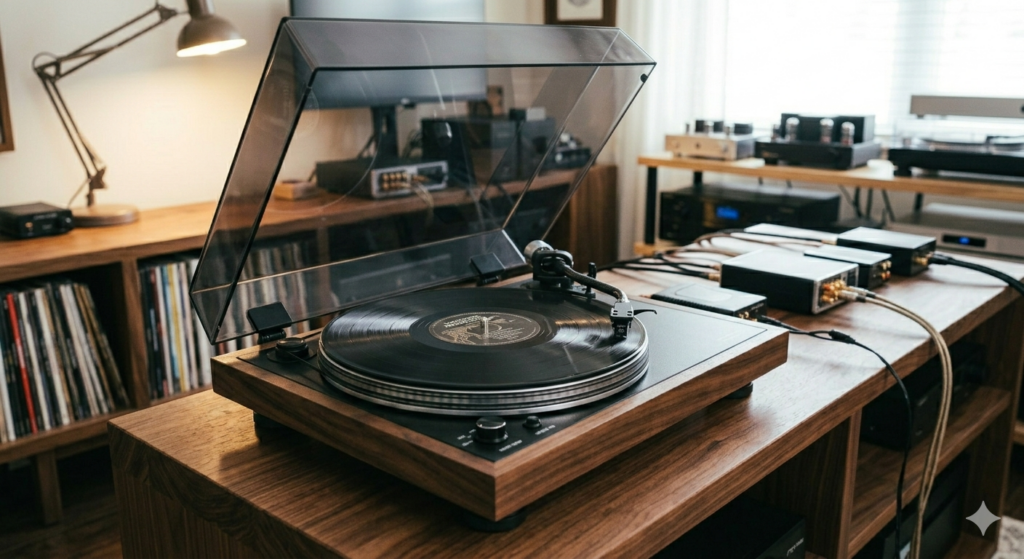
    The dust cover is the component you interact with every single time you use the turntable. It is the hinge you lift before every side, the surface that accumulates fingerprints, the piece of clear acrylic that you stare through while the record plays. If the hinge is stiff, you’ll be annoyed every time you use the deck. If it doesn’t stay open at a stable angle, you’ll spend your listening sessions watching it slowly descend toward your tonearm like a guillotine. If the acrylic is thin or poorly supported, it’ll flex and crack within eighteen months.

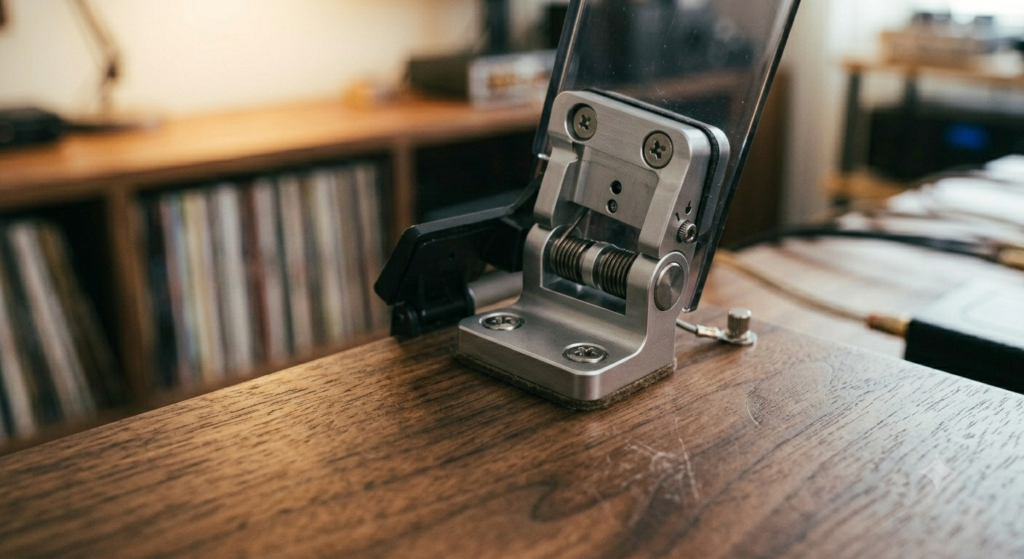
    What Happens When a Dust Cover Fails

    I have owned a turntable where the dust cover hinge snapped after fourteen months. The deck itself was fine — good motor, decent tonearm, nice platter — but without the dust cover it collected dust at a rate that required weekly stylus cleaning rather than the usual monthly maintenance. A replacement cover cost nearly as much as the deck was worth on the secondhand market at that point.

    I have also owned a turntable where the dust cover latched closed with a satisfying, precision click, stayed open at exactly the right angle, and showed no wear after five years of daily use.

    The difference in the experience of owning those two decks was enormous, and it had nothing to do with sound quality.

    Why dust protection matters for your stylus

    A dust cover does more than keep the platter clean between listening sessions. Fine airborne particulate — dust, pet hair, skin cells — settles onto the record surface and is swept by the stylus into the groove walls on every pass. That debris accelerates stylus and groove wear, raises the noise floor, and reduces tracking accuracy. A dust cover that seals properly when closed prevents most of this. One that doesn’t close or doesn’t latch is functionally decorative.

    What to Check Before Buying a Turntable

    This matters because turntables are not purely listening devices. They are objects that live in a room, that get touched every day, that need to function mechanically for years before any of their sonic qualities become relevant. A turntable with a great cartridge and a terrible dust cover is an object that will frustrate you. A turntable with a good-enough cartridge and a great dust cover is one you’ll actually want to use.

    When evaluating a turntable purchase — especially in the €150–€350 range where this kind of build-quality compromise is most common — ask the following:

    Is the dust cover hinged or removable?

    Hinged covers are more convenient for regular use. Removable covers are sometimes recommended for critical listening (they can transmit speaker vibrations to the platter if left on during playback), but for most listeners in most rooms, a well-fitting hinged cover is the right choice.

    Does it latch?

    A cover that latches closed protects the stylus and the record surface during transport and storage. A cover that just rests in place doesn’t.

    Are replacements available?

    Search the model name plus “replacement dust cover” before you buy. If the results are empty or the only options are third-party blanks that don’t fit properly, that’s a risk you’re accepting.

    The Best Turntable Is the One You Use

    The best turntable is the one you use. The one you use is the one that doesn’t annoy you every time you touch it. The dust cover is where that annoyance most often lives.

    Pay attention to the hinge.


    Next read: The Cable Nobody Talks About (And Why It’s Costing You Sound Quality)


  • Best Phono Preamp Under €100: What Five Weeks of Testing Actually Revealed

    Best Phono Preamp Under €100: What Five Weeks of Testing Actually Revealed


    The phono preamp market at under €100 is enormous, confusing, and full of products that look identical and perform very differently.

    There are roughly forty models on the market at any given time in this price bracket, most of them housed in black or silver boxes about the size of a thick paperback, most of them claiming to support both MM and MC cartridges, and most of them priced within €20 of each other in a way that implies the differences are cosmetic.

    They are not cosmetic.

    I spent three weeks running the same turntable — a mid-range belt-drive deck with a standard MM cartridge — through five preamps in this bracket, switching between them with the same test records: a 1970s jazz pressing I know well, a modern half-speed master with a lot of low-end information, and a 45 RPM single that tests how a preamp handles transients. I used the same amplifier and the same pair of bookshelf speakers throughout. I kept notes.

    How I Tested Each Phono Preamp

    Before describing findings, it’s worth being specific about method — because phono preamp testing is an area where confirmation bias runs wild and methodology is rarely disclosed.

    The test setup

    Every preamp ran from the same turntable output into the same integrated amplifier, with cables swapped in sequence rather than tested on different days. Volume was matched by ear using a 1 kHz test tone from a calibration record before each listening session. The three test records covered bass extension, midrange resolution, transient handling, and channel separation.

    What I was listening for

    Three things: noise floor at listening volume, bass accuracy as a proxy for RIAA curve implementation, and dynamic headroom on the 45 RPM transient test. Everything else — soundstage, “warmth”, “air” — is too dependent on subjective preference to be useful in a comparative test.

    What Actually Separates Budget Phono Preamps

    Noise floor: the first and most important test

    Before playing a single record, turn your volume up to your normal listening level with the needle lifted and just listen. The better preamps in this range are nearly silent. The worse ones have a faint hiss that you’ll stop noticing consciously after a few weeks but that your ears will register as fatigue after two hours of listening. You cannot un-hear it once someone points it out.

    Two of the five units I tested had an audible hiss at normal listening volume. Both were in the lower half of the price range. This is not a coincidence — the power supply design and input stage layout are the primary sources of noise in a phono preamp, and both cost money to do properly.

    RIAA curve accuracy: the bass test

    The RIAA equalisation standard — the bass-cut applied during recording and the corresponding boost applied during playback — should be followed to within ±1 dB across the frequency range. In practice, cheaper implementations drift in the bass, giving you either a bloated, boomy low end or a thin one depending on which direction they err.

    The jazz record is the best test for this: you should hear the upright bass as a distinct, defined instrument in a specific place in the stereo field. If it’s a smear, the RIAA response is off. Three of the five preamps passed this test cleanly. Two produced a low-end presentation that sounded fine in isolation but fell apart when compared directly.

    Gain staging: the number that doesn’t tell the whole story

    The five preamps I tested were nominally rated between 36 and 40 dB of MM gain. In practice the usable output varied enough that on two of them I had to run my amplifier volume noticeably higher than on the others to hit the same listening level. That extra amplifier gain amplifies the noise floor too. A preamp rated at 40 dB that runs quiet is better than one rated at 40 dB that doesn’t.

    Build quality: what predicts longevity

    The RCA jacks on two of the units I tested felt loose within a few days of repeated cable insertion. That’s a mechanical failure waiting to happen. The feel of the connectors — whether they grip firmly, whether the ground connection is solid — is something you can assess without playing a single note.

    The Verdict: Where to Spend Your Money on a Phono Preamp

    The overall conclusion after three weeks: the worst preamp I tested cost €45 and the best cost €79, and the difference was not subtle. The €45 unit wasn’t bad — it was functional, it did what a phono preamp is supposed to do, and a first-time vinyl listener would probably have been perfectly happy with it. But once you’ve heard what a quiet noise floor and accurate RIAA response actually sounds like, you hear the compromise in the cheaper unit immediately.

    Is a more expensive phono preamp worth it?

    In a hobby where so much of the marketing is aimed at convincing you to spend more than you need to, it’s worth being precise about where the money actually goes. In this case: spend €80, not €45. The gap is real. Beyond €100, the returns diminish sharply until you reach the discrete Class-A territory above €200 — which is a real step up, but a different purchase for a different moment in your vinyl journey.

    For a first proper phono preamp upgrade, €80 is the right number. Everything above that is a conversation for later.


    Next read: Why Your Turntable’s Dust Cover Matters More Than Any Review Will Tell You →


  • The Cable Nobody Talks About (And Why It’s Costing You Sound Quality)

    The Cable Nobody Talks About (And Why It’s Costing You Sound Quality)


    There is a particular kind of audiophile snobbery that gets aimed at cables.

    Spend more than twenty euros on an interconnect and someone on a forum will tell you that cables make no measurable difference, that you’ve been fooled by marketing, and that a coat hanger would sound identical. Spend less than five and a different group will tell you that you’re destroying your signal chain and that you might as well be listening through a tin can on a string.

    Both camps are wrong, and neither is helpful to the person who just bought their first turntable and is staring at the back of it wondering which of those bundled red and white cables they’re supposed to plug in.

    Here’s what’s actually true: cables matter, within reason, for specific reasons, and the most important cable in your entire setup is probably the one nobody told you existed.

    It’s the ground wire.

    What Does a Turntable Ground Wire Actually Do?

    That thin, often unterminated cable — sometimes grey, sometimes bare copper, usually tangled at the bottom of the box — is the difference between a turntable that sounds like music and one that sounds like a turntable. The ground wire connects the metal chassis of your deck to the grounding post on your phono preamp or amplifier, completing an electrical circuit that keeps the hum of your motor, your mains supply, and every other nearby electromagnetic source out of the signal path.

    When it’s missing, loose, or broken, you get a 50 Hz hum that sits underneath everything like a foghorn. It’s not subtle. It turns a €150 turntable setup into something that sounds like a broken refrigerator with jazz playing inside it.

    Why Does Turntable Hum Happen Without a Ground Wire?

    The motor inside a turntable generates a small electromagnetic field as it runs. Without a proper ground path, that field has nowhere to go except into the signal path — specifically into the tonearm wiring and cartridge output, which the phono preamp then dutifully amplifies along with your music. The ground wire gives that interference a low-resistance path back to the circuit reference point, diverting it away from the signal before it can cause problems.

    Why Do People Keep Losing Their Ground Wires?

    And yet it’s the cable that gets thrown away, lost, or tangled past usability more than any other. Partly because it looks unimportant. Partly because the boxes never really explain what it does. Partly because most people assume that if their setup isn’t working right, the problem is something expensive and complicated, not a €9 wire that needs replacing.

    The other reason is that many turntables ship with a ground wire that is just barely long enough to reach the grounding post if both pieces of equipment are sitting directly next to each other, which they often aren’t. So the wire gets stretched, the termination fails, and the hum returns — and since it came back rather than never going away, it gets diagnosed as a new problem rather than the original one resurfacing.

    What to Look for in a Replacement Turntable Ground Wire

    If you actually need to replace yours — or if your turntable arrived without one — here is what actually matters:

    Length

    Get at least 0.75m, preferably 1.2m. It costs the same and gives you flexibility in how you position your equipment.

    Conductor Quality

    Oxygen-free copper is the correct answer. The signal carried on a ground wire is not an audio signal, so the differences are less audible than on an interconnect, but a poorly conductive ground connection is worse than no ground at all in some configurations.

    Terminations

    Spade connector at the turntable end, fork terminal at the preamp end. Both should be crimped and soldered, not just crimped. A ground connection that fails under vibration is a problem that’s annoying to diagnose.

    The Bigger Picture: Getting the Fundamentals Right First

    The broader point here is that the signal chain from stylus tip to speaker cone is full of components that are cheap to get right and expensive to ignore. A decent ground wire. A phono preamp that isn’t adding noise. RCA cables that are actually shielded rather than just shaped like they might be. None of these things require an audiophile budget. They require the knowledge that they matter, which is precisely the knowledge that gets buried under advertisements for turntables that retail for the price of a small car.

    Get the fundamentals right first. Spend the money where it moves the needle — sometimes literally. And don’t throw away the ground wire.


    Next read: How to choose a phono preamp for your first turntable setup →